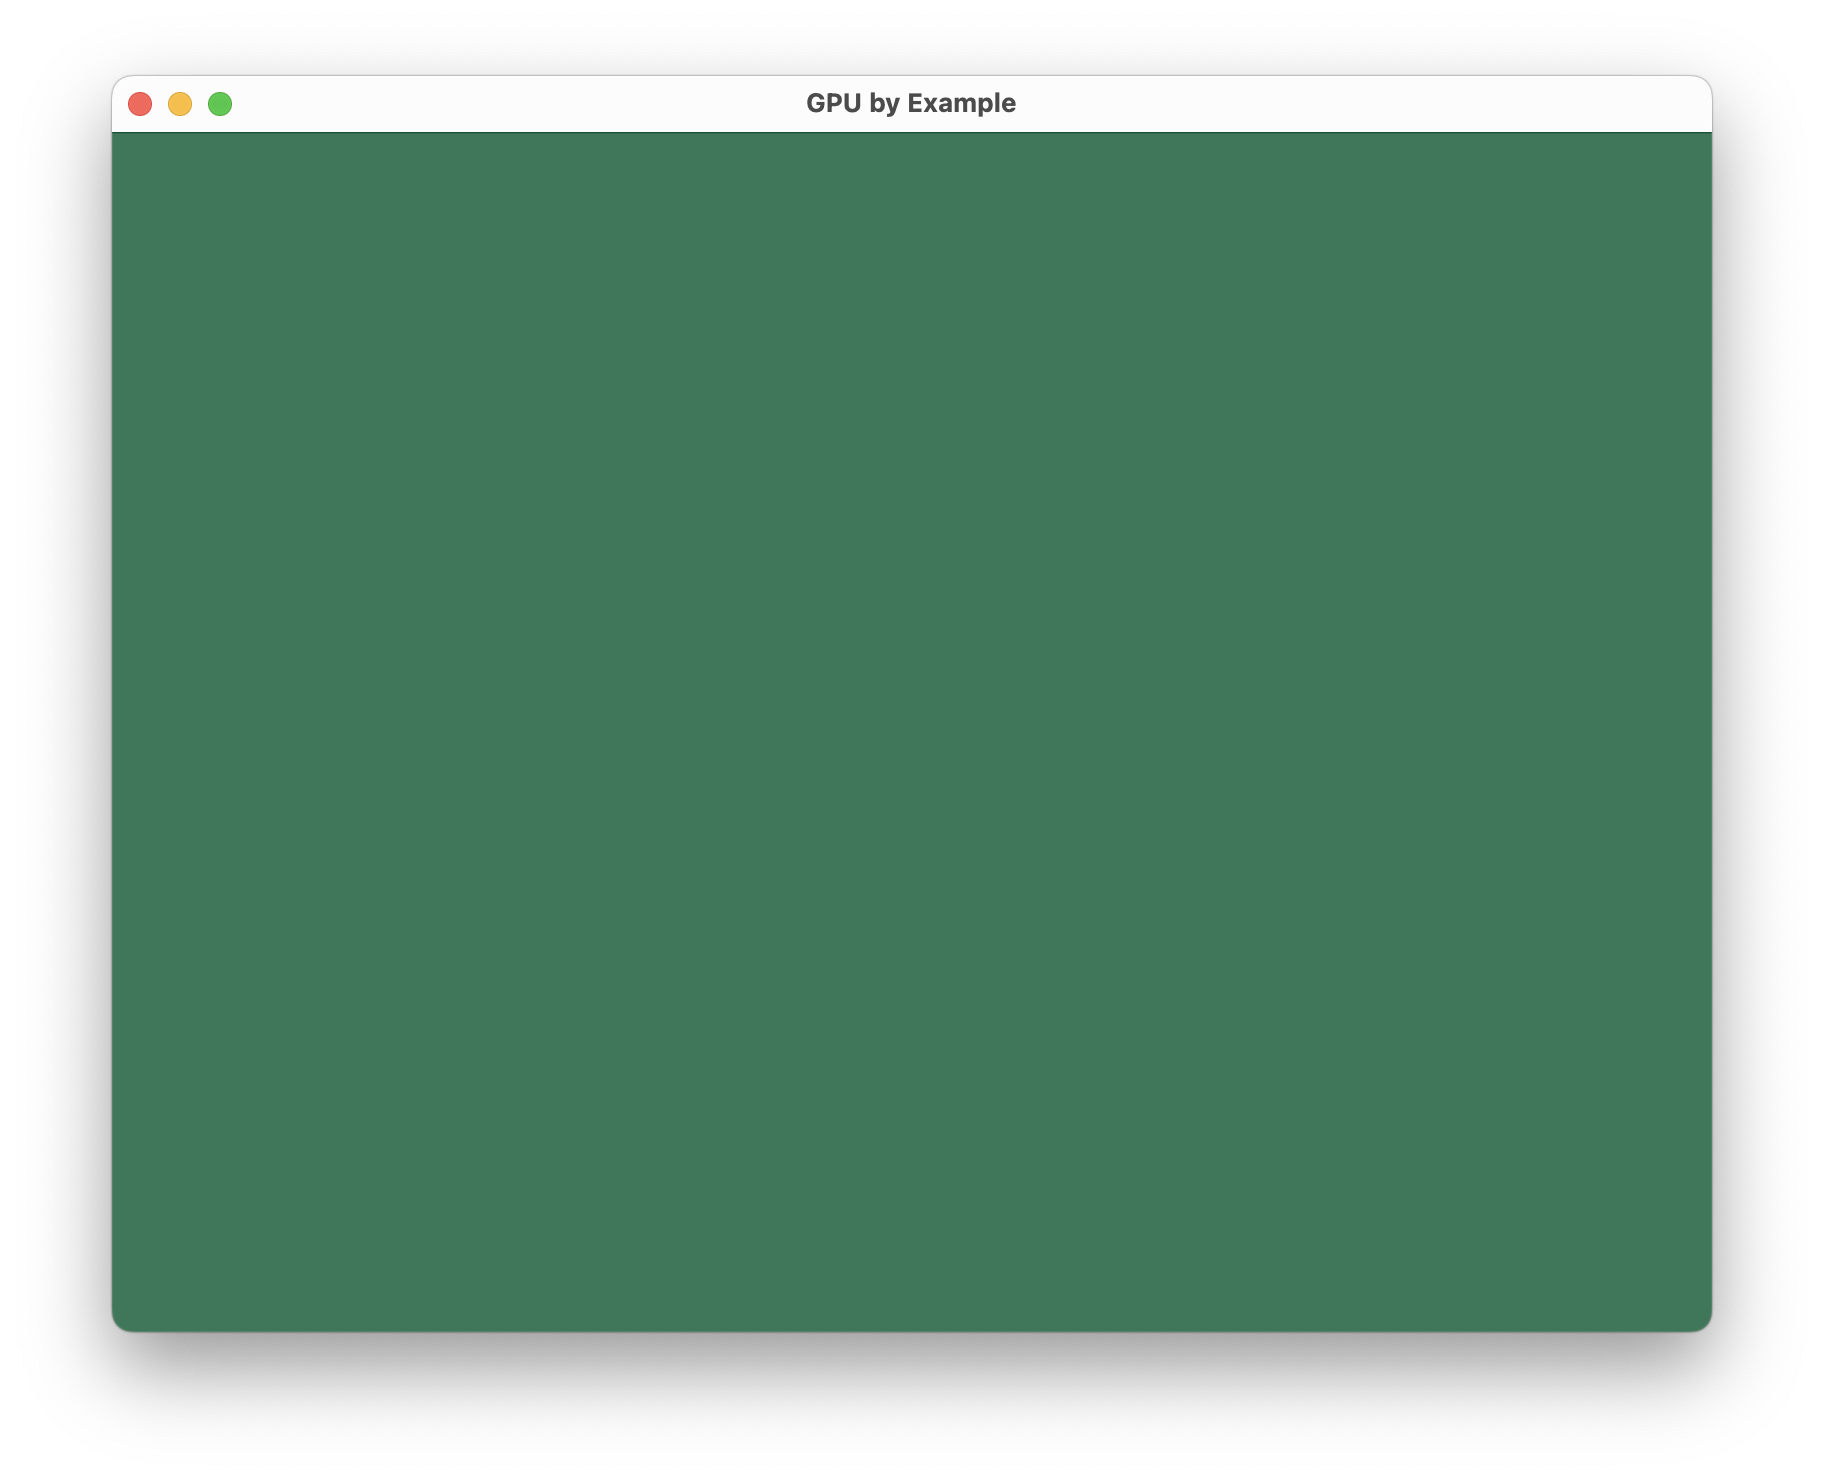
Jumping in with the absolute basics here, let’s get a window on screen, the GPU API initialized,
and clear the render target to a known color. The source code for this post is under the
Example1-GettingStarted directory in the project repo. Here’s the end goal:
We’ll start with a single Example1.c file, using SDL3’s new main functions.
We’ll need to implement four functions: SDL_AppInit, SDL_AppEvent, SDL_AppIterate, and
SDL_AppQuit. And hey, that gives me a convenient structure for this post, so let’s go.
Initialization
We’ll need to:
Initialize SDL itself, at least the Video and Event subsystems.
Create both a GPU device and a Window, and attach them together.
And to practice good hygiene, we’ll keep references to these in a context structure
instead of just making them globals.
// Before including SDL_main.h, define this to enable the new// application lifecycle stuff.#define SDL_MAIN_USE_CALLBACKS
// Pull in SDL3, obviously.#include<SDL3/SDL.h>// Include SDL_main.h in the file where you define your main// function(s).#include<SDL3/SDL_main.h>// We'll have some things we want to keep track of as we move// through the lifecycle functions. Globals would be fine for// this example, but SDL gives you a way to pipe a data structure// through the functions too, so we'll use that.//// For now, we need to keep track of the window we're creating// and the GPU driver device.typedefstructAppContext{SDL_Window*window;SDL_GPUDevice*device;}AppContext;// SDL_AppInit is the first function that will be called. This is// where you initialize SDL, load resources that your game will// need from the start, etc.SDL_AppResultSDL_AppInit(// Allows you to return a data structure to pass throughvoid**appState,// Normal main argc & argvintargc,char**argv){// This isn't strictly necessary, but if you provide a little// bit of metadata here SDL will use it in things like the// About window on macOS.SDL_SetAppMetadata("GPU by Example - Getting Started","0.0.1","net.jonathanfischer.GpuByExample1");// Initialize the video and event subsystemsif(!SDL_Init(SDL_INIT_VIDEO|SDL_INIT_EVENTS)){SDL_LogError(SDL_LOG_CATEGORY_APPLICATION,"Couldn't initialize SDL: %s",SDL_GetError());returnSDL_APP_FAILURE;}// Create a window. I'm creating a high pixel density window// because without that, I was getting blurry text on macOS.// (text comes in a later post, promise.)SDL_WindowFlagswindowFlags=SDL_WINDOW_HIGH_PIXEL_DENSITY|SDL_WINDOW_RESIZABLE;SDL_Window*window=SDL_CreateWindow("GPU by Example - Getting Started",800,600,windowFlags);if(window==NULL){SDL_LogError(SDL_LOG_CATEGORY_APPLICATION,"Couldn't create window: %s",SDL_GetError());returnSDL_APP_FAILURE;}// Next up, let's create a GPU device. You'll need to tell the// API up front what shader languages you plan on supporting.// SDL looks through its list of drivers in "a reasonable// order" to pick which one to use. Fun surprise here: on// Windows, it's going to prefer Vulkan over Direct3D 12 if// it's available. Here, we're enabling Vulkan (SPIRV),// Direct3D 12 (DXIL), and Metal (MSL).SDL_GPUShaderFormatshaderFormats=SDL_GPU_SHADERFORMAT_SPIRV|SDL_GPU_SHADERFORMAT_DXIL|SDL_GPU_SHADERFORMAT_MSL;SDL_GPUDevice*device=SDL_CreateGPUDevice(shaderFormats,false,NULL);if(device==NULL){SDL_LogError(SDL_LOG_CATEGORY_APPLICATION,"Couldn't not create GPU device: %s",SDL_GetError());returnSDL_APP_FAILURE;}// Just so we know what we're working with, log the driver that// SDL picked for us.SDL_Log("Using %s GPU implementation.",SDL_GetGPUDeviceDriver(device));// Then bind the window and GPU device togetherif(!SDL_ClaimWindowForGPUDevice(device,window)){SDL_Log("SDL_ClaimWindowForGPUDevice failed: %s",SDL_GetError());returnSDL_APP_FAILURE;}// By default, SDL GPU enables VSYNC, which is generally what I// want. If you want to change it, now is the time to do that;// look at SDL_SetGPUSwapchainParameters in the documentation.// https://wiki.libsdl.org/SDL3/SDL_SetGPUSwapchainParameters// Last up, let's create our context object and store pointers// to our window and GPU device. We stick it in the appState// argument passed to this function and SDL will provide it in// later calls.AppContext*context=SDL_malloc(sizeof(AppContext));context->window=window;context->device=device;*appState=context;// And that's it for initialization.returnSDL_APP_CONTINUE;}
The Main Loop
In earlier versions of SDL, once we have everything initialized we’d start our main loop, where we
poll for input and windowing events, update our game, draw, etc. When using SDL3’s main functions,
we instead implement a couple of callbacks and let SDL handle the looping portions.
Once a frame, SDL will call SDL_AppIterate. There’s no guarantees about exactly how often this gets
called, but it’s intended to be as fast as possible, or tied into the display refresh rate. You’ll
have to track how much time has passed yourself; I’ll start doing that in the next post.
The basic per-frame work we need to do with SDL GPU is:
Acquire a command buffer, which is what we use to submit drawing commands to the device.
Wait for the primary render target to be available; SDL calls this the Swapchain Texture. I
believe this is where the vsync wait actually happens.
Begin a render pass.
Submit any drawing commands for the pass.
End the pass.
Possibly repeat if you have more passes.
Finally submit the command buffer to the device.
At this point we’re just clearing the framebuffer to a known color, so we’ll begin and end a single
render pass with no drawing commands in it.
SDL_AppResultSDL_AppIterate(void*appState){// Our AppContext instance is passed in through the appState// pointer.AppContext*context=(AppContext*)appState;// Generally speaking, this is where you'd track frame times,// update your game state, etc. I'll be doing that in later// posts.// Once you're ready to start drawing, begin by grabbing a// command buffer and a reference to the swapchain texture.SDL_GPUCommandBuffer*cmdBuf;cmdBuf=SDL_AcquireGPUCommandBuffer(context->device);if(cmdBuf==NULL){SDL_Log("SDL_AcquireGPUCommandBuffer failed: %s",SDL_GetError());returnSDL_APP_FAILURE;}// As I understand it, _this_ is where it's going to wait for// Vsync, not in the loop that calls SDL_AppIterate.SDL_GPUTexture*swapchainTexture;if(!SDL_WaitAndAcquireGPUSwapchainTexture(cmdBuf,context->window,&swapchainTexture,NULL,NULL)){SDL_Log("SDL_WaitAndAcquireGPUSwapchainTexture: %s",SDL_GetError());returnSDL_APP_FAILURE;}// With the command buffer and swapchain texture in hand, we// can begin and end our render passif(swapchainTexture!=NULL){// There are a lot more options you can set for a render// pass, see SDL_GPUColorTargetInfo in the SDL documentation// for more.// https://wiki.libsdl.org/SDL3/SDL_GPUColorTargetInfoSDL_GPUColorTargetInfotargetInfo={// The texture that we're drawing in to.texture=swapchainTexture,// Whether to cycle that texture. See// https://moonside.games/posts/sdl-gpu-concepts-cycling/// for more info.cycle=true,// Clear the texture to a known color before drawing.load_op=SDL_GPU_LOADOP_CLEAR,// Keep the rendered output.store_op=SDL_GPU_STOREOP_STORE,// And here's the clear color, a nice green..clear_color={0.16f,0.47f,0.34f,1.0f}};// Begin and end the render pass. With no drawing commands,// this will clear the swapchain texture to the color// provided above and nothing else.SDL_GPURenderPass*renderPass;renderPass=SDL_BeginGPURenderPass(cmdBuf,&targetInfo,1,NULL);SDL_EndGPURenderPass(renderPass);}// And finally, submit the command buffer for drawing. The// driver will take over at this point and do all the rendering// we've asked it to.SDL_SubmitGPUCommandBuffer(cmdBuf);// That's it for this frame.returnSDL_APP_CONTINUE;}
Handling events
SDL will handle polling for input and windowing events for us, and when one shows up, it’ll call
SDL_AppEvent. This isn’t terribly interesting yet; all we care about is whether it’s time to
close the application.
SDL_AppResultSDL_AppEvent(void*appState,SDL_Event*event){// SDL_EVENT_QUIT is sent when the main (last?) application// window closes.if(event->type==SDL_EVENT_QUIT){// SDL_APP_SUCCESS means we're making a clean exit.// SDL_APP_FAILURE would mean something went wrong.returnSDL_APP_SUCCESS;}// For convenience, I'm also quitting when the user presses the// escape key. It makes life easier when I'm testing on a Steam// Deck.if(event->type==SDL_EVENT_KEY_DOWN&&event->key.key==SDLK_ESCAPE){returnSDL_APP_SUCCESS;}// Nothing else to do, so just continue on with the next frame// or event.returnSDL_APP_CONTINUE;}
Cleaning up
Finally, shutting down. This’ll be called if SDL_APP_SUCCESS or SDL_APP_FAILURE is returned
from either SDL_AppEvent or SDL_AppIterate. It gives you a chance to gracefully shut things
down.
voidSDL_AppQuit(void*appState,SDL_AppResultresult){AppContext*context=(AppContext*)appState;// Just cleaning things up, making sure we're working with// valid pointers as we go.if(context!=NULL){if(context->device!=NULL){if(context->window!=NULL){SDL_ReleaseWindowFromGPUDevice(context->device,context->window);SDL_DestroyWindow(context->window);}SDL_DestroyGPUDevice(context->device);}SDL_free(context);}SDL_Quit();}
That feels like a lot of work just to clear the screen, but it also sets up all the scaffolding
for issuing actual drawing commands. Next post: let’s get a triangle on the screen, yeah? To do
that I’ll need to get shaders in there. 😱
Ok, so. I want to learn how to use a modern GPU API, and since SDL3 was
just released with a new GPU API abstraction
over the major 3 GPU APIS (Direct3D 12, Vulkan, and Metal), it seems like a good time! Except,
it’s maybe a little too new: the documentation on it is great, but it feels like it assumes
you already know how to work with one of the big 3 APIs. I don’t. I never really moved beyond
OpenGL 1.2. Maybe 1.1? Either way, my graphics programming knowledge is more than 20 years
out of date.
The tutorials I’ve been able to find are good, if you already understand the concepts.
Moonside Games in particular has some good information, and there’s an
example repository, but I need something a little more basic. I’ve
never written a shader or assembled a pipeline; I don’t even think I’ve used vertex buffers.
So I started trying to learn how to do all of this. I was mostly interested in Metal (I use macOS
99% of the time) so I started by translating Metal by Example by Warren Moore to
SDL’s GPU API and trying to get it working on macOS, Windows, and Linux. I started writing down
some notes as I went, and that ballooned into “I should blog this”, and here we are.
Anyway, I have a general outline in mind, which is:
Part 1 - Getting Started. How to initialize SDL, get a window on screen, hook it up to
the GPU subsystem, and clear the window to a solid color.
Part 2 - Drawing Primitives. Set up a basic GPU pipeline with shaders that do almost
nothing, draw a single triangle to the window.
Part 2.5 - Compiling Shaders. What shader languages and formats we need and how to compile them.
Part 3 - Uniforms. Pass extra parameters to your shaders, use them to animate and change things
on the fly.
Part 4 - Texturing. Load a texture, paint your geometry with it.
Part 5 - Text rendering with SDL_ttf. Take the previous parts and put them together to draw
something meaningful. Maybe add in an extra render target?
Part 6 - Lighting
Part 7 - Load and render a model, with some sort of animation done in the vertex shader.
There’s a repository to go along with this series available at mohiji/gpu-by-example on
Github. I’m going to organize it into one example project per part (except the Compiling Shaders
one) and provide projects to run on Windows, macOS, and Linux.
I do want to stress again: I’m learning as I go. Let’s have fun with it!
It’s the first weekday of summer vacation, and we don’t quite have childcare worked
out yet, so my poor kids are stuck in the office with me this afternoon.
A few things come to mind. First, thank goodness for the Switch. Kayla’s playing Breath
of the Wild quietly. Second, yay, there’s a new Monument Valley out today!
That helps a ton.
Mostly though, I think I need to load up that computer in the background with old Sierra
games. One of my elementary school summers (I think it was between 4th and 5th grade?) I
remember spending a bunch of time at my friend’s dad’s dental office playing
King’s Quest 3 and the Colonel’s Bequest on their computer.
I need to find some good adventure games for the kids. Good ones that take hours and
hours to play though. :D
It started with me being curious: if I use an Integer in Kotlin, am I going to be paying
a penalty for using a boxed primitive? So I wrote some silly benchmarks to confirm. First,
in Java:
The Kotlin one takes 1.81 seconds. Tiny bit slower than the Java primitive one, but that’s
probably just due to needing a little more time for Kotlin’s runtime to load. Kotlin does
unboxed primitives properly, yay!
Now I’m curious though: how do the other languages I use on the regular perform? Let’s try
Clojure first, both a straightforward implementation and one tailored to match the Java
one better:
sum-test-straightforward took 5.1 seconds, and sum-test-gofast 1.69 seconds. The gofast
one is comparable to the Java one, probably a little slower: I ran these at a REPL, so there’s
no startup time involved.
Ok, how about Common Lisp? I can think of 3 approaches to take off the top of my head.
;; 2147483647 is the same value as Java's Integer/MAX_VALUE.(defunsum-test-iterative()(let((sum0))(dotimes(i2147483647)(setfsum(+sumi)))sum))(defunsum-test-recursive()(labels((sum-fn(sumi)(if(<=i2147483647)(sum-fn(+sumi)(+1i))sum)))(sum-fn00)))(defunsum-test-loop()(loopforifrom1to2147483647sumi))
Using ClozureCL, all 3 of these perform abysmally:
sum-test-iterative: 62.98 seconds, 2.82 of which were GC time. 20 GiB allocated.
sum-test-recursive: 74.11 seconds, 3.52 of which were GC. 20 GiB allocated.
sum-test-loop: 50.7 seconds, 2.58 of which were GC. 20 GiB allocated.
SBCL does much better off the bat, but still not great:
sum-test-iterative: 7.7 seconds, no allocation
sum-test-recursive: 17.1 seconds, no allocation
sum-test-loop: 7.63 seconds, no allocation
Adding some type annotations and optimize flags helped SBCL, but ClozureCL’s times stayed
the same:
SBCL’s sum-test-iterative drops down to 3.13 seconds, still no allocation. No change on
Clozure. I’m probably doing something wrong here, but it’s not clear to me what. The
disassembly of sum-test-iterative on SBCL shows that there’s still an allocation going
on there: maybe the problem is just that 64-bit integers don’t work unboxed due to SBCL’s
pointer tagging?
Why take in the count parameter from the command line? Because Clang cheats. If I use the
constant in there, it’s smart enough to just precalculate the whole thing and just return
the final result.
Without optimizations:
solace:sum-tests jfischer$ clang -o sum-test SumTest.c
solace:sum-tests jfischer$ time ./sum-test 2147483647
2305843008139952128
real	0m8.247s
user	0m8.190s
sys	0m0.035s
With optimizations:
solace:sum-tests jfischer$ clang -Os -o sum-test SumTest.c
solace:sum-tests jfischer$ time ./sum-test 2147483647
2305843008139952128
real	0m0.006s
user	0m0.002s
sys	0m0.002s
It turns out, Clang still cheats even if the loop counter comes from outside. I’m pretty
sure it recognized what I’m doing and just turned that loop into Gauss’ trick for computing
an arithmetic series. It doesn’t matter
what loop count I give it, it always takes the same amount of time with optimizations.
I can’t read/write assembly, but playing around on godbolt.org makes
it look like that’s the case: https://godbolt.org/g/FmL66q.
(There’s no loop in the disassembly.) And I can’t figure out how to trick it into not doing
that, so I’ll call it quits for now.
I ended up turning to a Clojure REPL to solve an issue in that project I totally didn’t
sneak Clojure into before and realized I did some things the hard way last time.
First up: you don’t need to create and compile a Java class from Clojure to call into
Clojure code from Java. If I had actually read the Java Interop reference
guide on Clojure.org, I would have noticed that there’s a section on
calling Clojure from Java. It’s much, much easier.
// In Java code:

// First, find the require function. Then use it to load the project.util namespace
IFn require = Clojure.var("clojure.core", "require");
require.invoke(Clojure.read("project.util"));

// After project.util is loaded, we can look up the function and call it directly.
IFn getMyThing = Clojure.var("project.util", "get-my-thing");
getMyThing.invoke();
Easy peasy. I don’t have to jump through the gen-class hoops, and bonus! I don’t have to
compile my Clojure code ahead of time. I just need to make sure the source files are on
the class path.
You should of course compile your Clojure code if you’re distributing an application
built on it. It’ll load faster, plus you might not want it readable.
What I specifically didn’t want to hook into that project that I totally wasn’t sneaking
Clojure into is a REPL: I want to be able to poke directly at the application’s state
while it’s running. To do that, I’ll need to make sure that tools.nrepl is
available on the classpath, and require/launch it from within the application.
I could probably use Clojure 1.8’s socket server repl instead, but I plan on using Cider
to talk to it, so nrepl’s a better choice.
In Java code:
public static void launchNrepl(int port) {
  try {
    IFn require = Clojure.var("clojure.core", "require");
    require.invoke(Clojure.read("clojure.tools.nrepl.server"));

    // Note: passing "::" as the :bind parameter makes this listen on all interfaces.
    // You might not want that.
    IFn startServer = Clojure.var("clojure.tools.nrepl.server", "start-server");
    startServer.invoke(Clojure.read(":bind"), "::", Clojure.read(":port"), port);
  }
  catch (Exception e) {
    // log the error
  }
}
In my theoretical project where I totally didn’t do this I also load in a namespace of
helper code I’ve written to wrap around the Java objects we already have written.